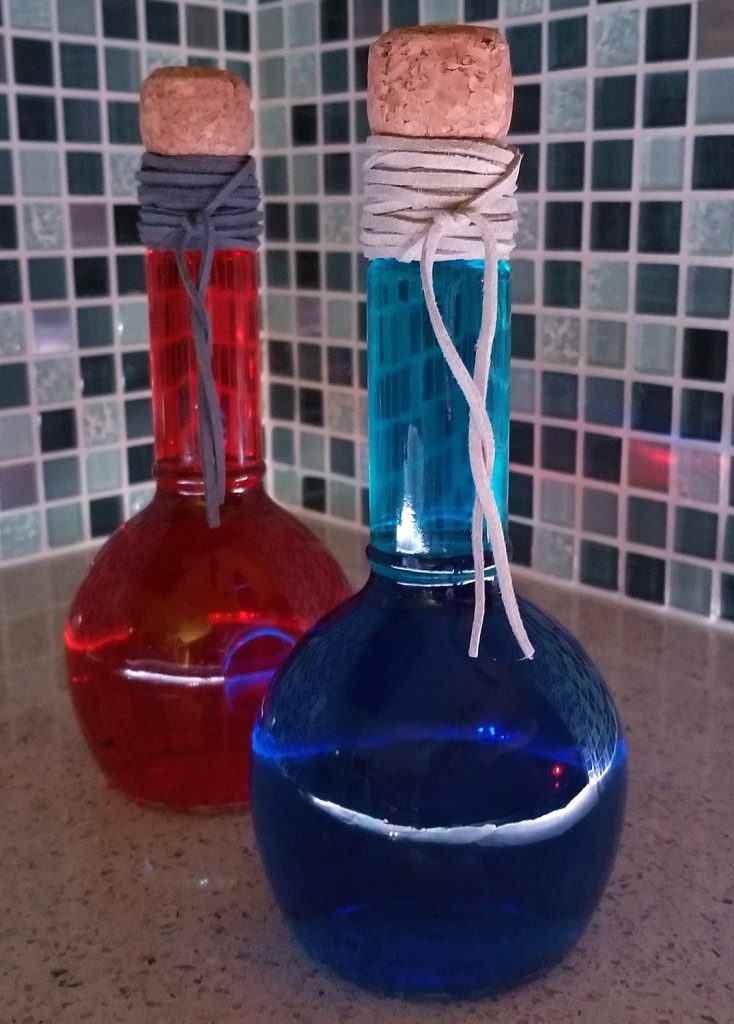
Potions, potions! Five gold only!
Ever needed a quick gift for that friend or special somebody who just really looks like they could use a quick hit of HP? Know someone who could definitely chug some mana for an energy recharge? These potion bottles are a great, fast craft for those gaming or fantasy geeks in your life.
This is a slightly improved version of an old craft I did a few years back. I was at the grocery store looking for some white wine vinegar for a recipe, and the moment my eyes rested upon these bottles, my mind instantly said ‘potions!’
Easy and cheap to make, you could customise these potions in so many ways. You could choose whatever colour you liked, add labels, accessories or even lights.
Supplies:
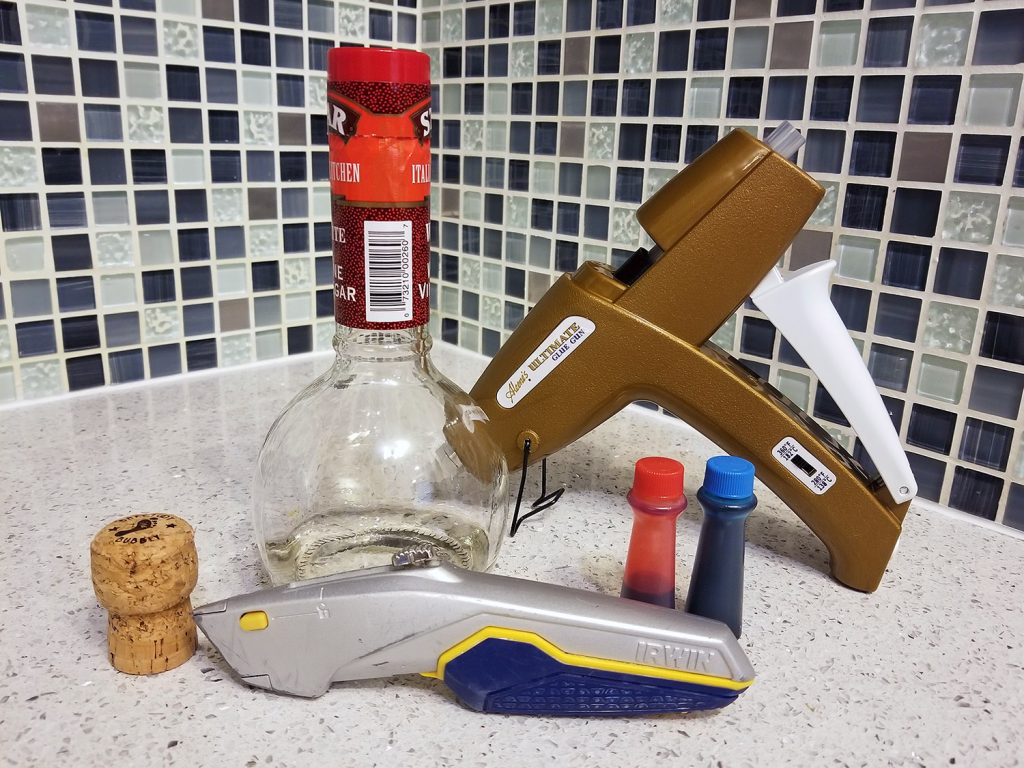
Here’s a list of the items you will need for this quick craft:
- Round vinegar bottle (Find in your local grocery store)
- Wine cork
- Food colouring
- Craft knife or similar
- Hot glue gun
- Twine, leather strip or other decoration of your choosing
Prep work:
The first step is to remove the lid, nozzle and thoroughly clean off the label (including the leftover glue!)
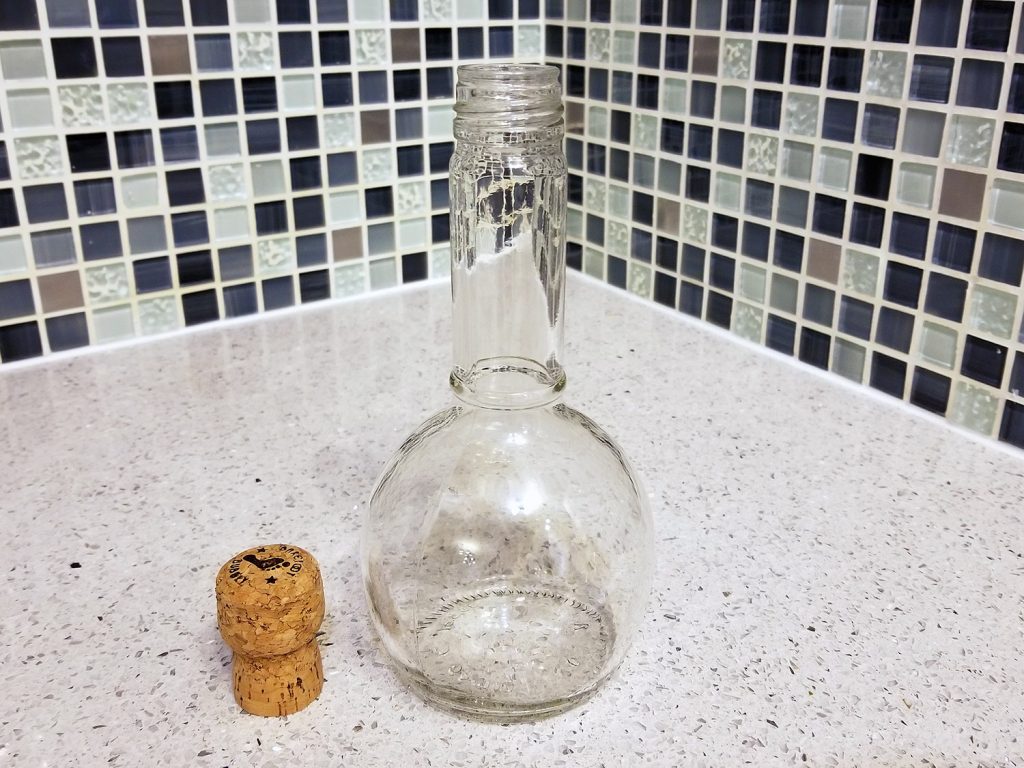
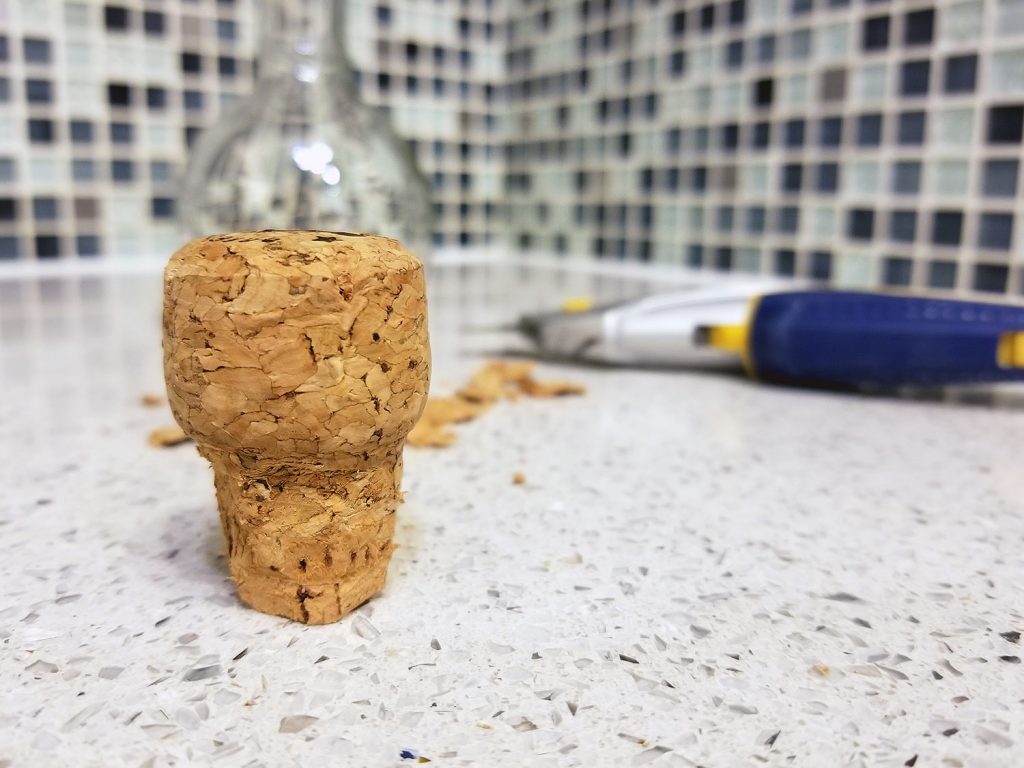
Now, unless you get lucky in the cork that you picked, it probably won’t fit in the narrow neck of the vinegar bottle. Break out your sharp knife, we need to shave this down to fit!
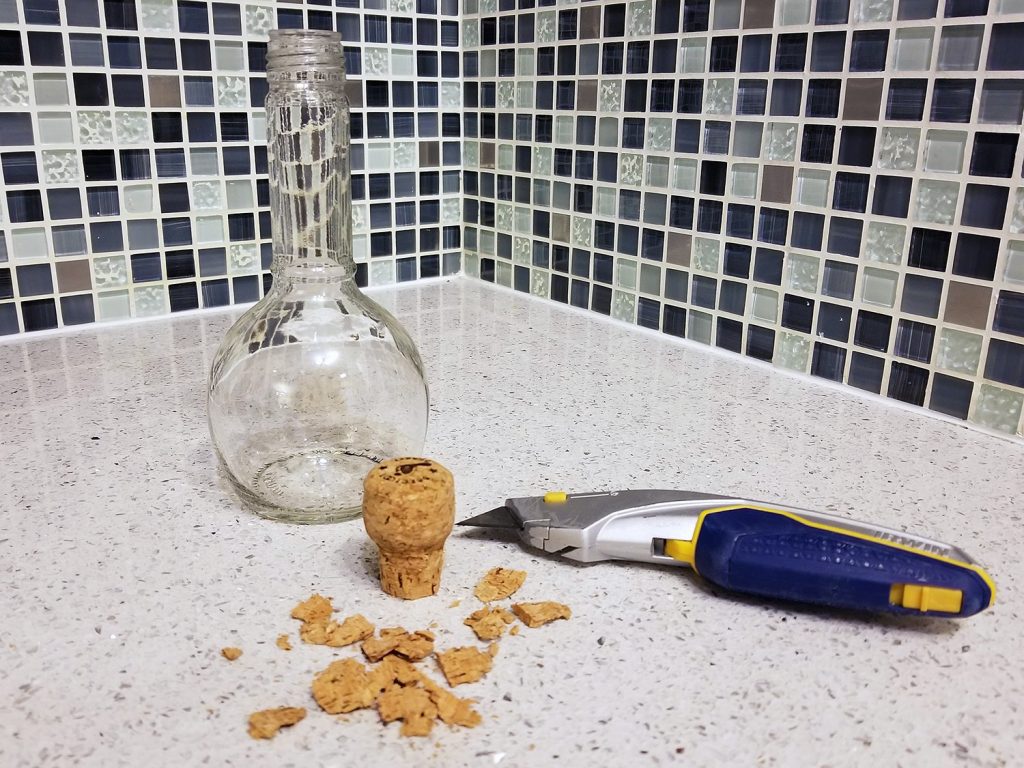
It doesn’t have to look pretty, we’ll be covering this up later.
Filling it up:
Once you’re comfortable you have a nice fit with the cork, fill the bottle up with water to just below where the bottom of the cork will sit. We don’t want a big gap because it will slosh around, but if the water level is too high then we may get some leakage later.
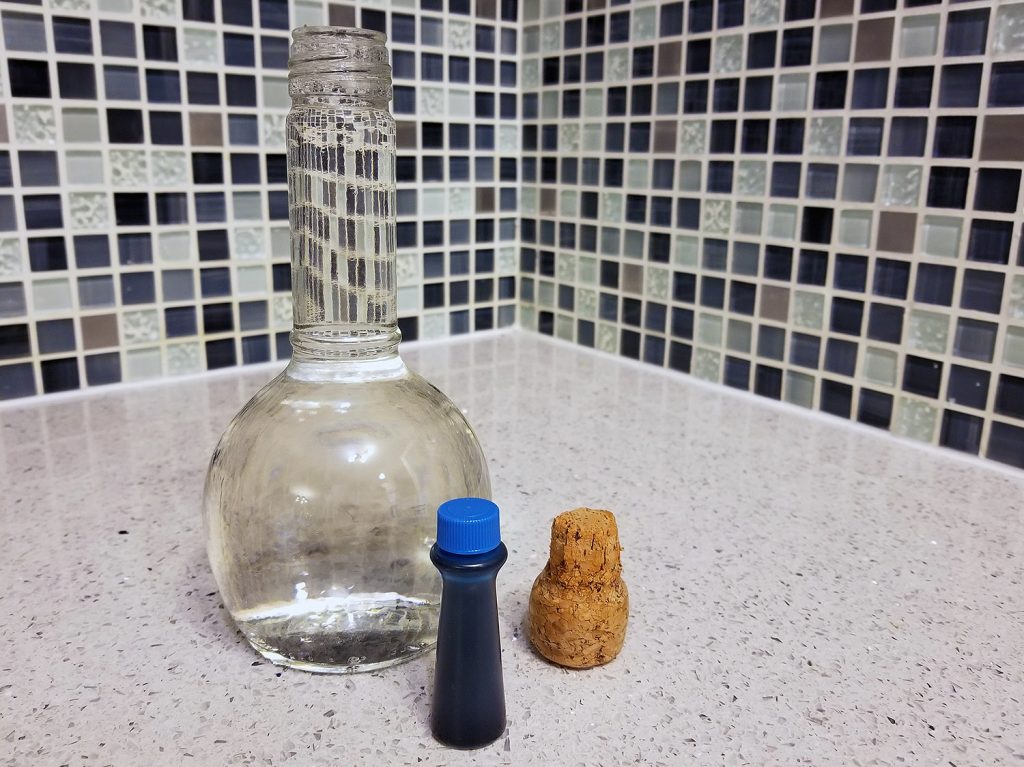
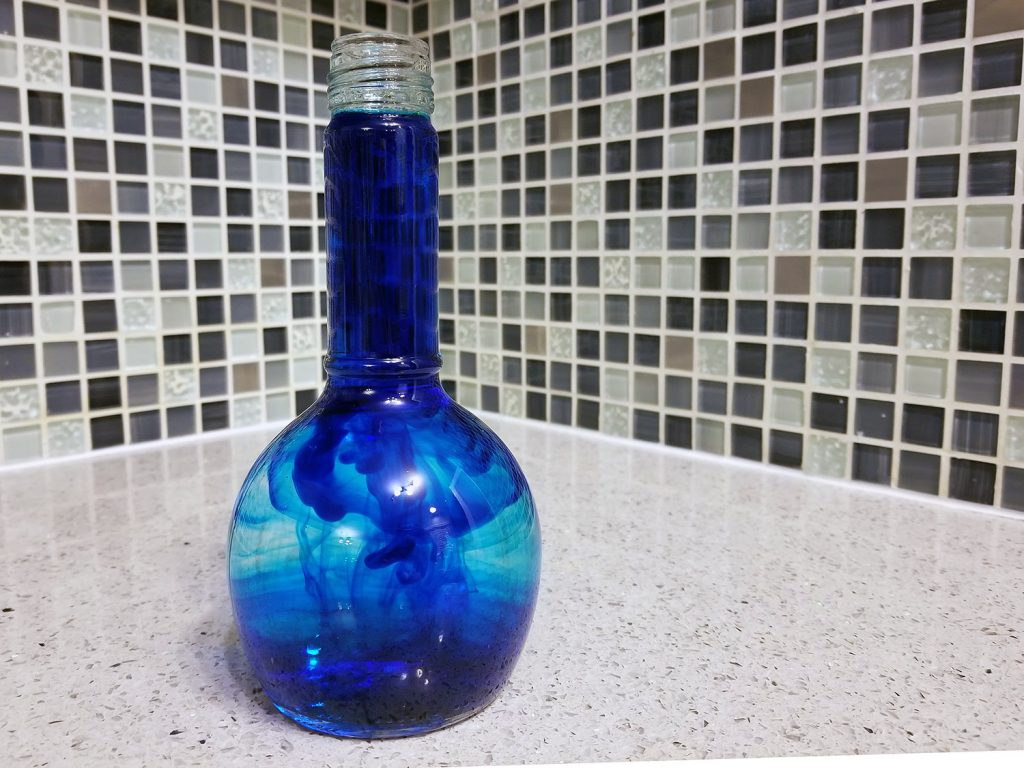
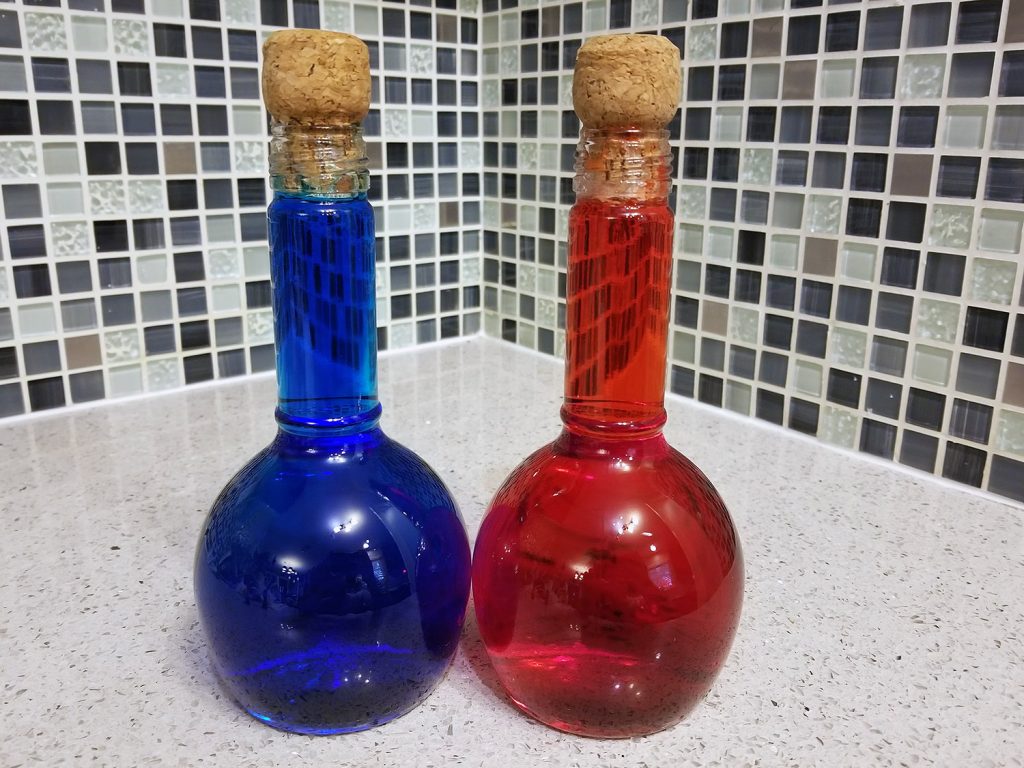
Choose your colour! You may have to experiment with how many drops of food colouring you use, but I found that blue needed about 20, whereas red needed 40 or so to look vivid enough.
Let the colouring settle, then gently swirl it around to mix it. Try not to spill!
Sealing it off:
This is where we take our glue gun and put a nice thick line of glue just inside the opening.
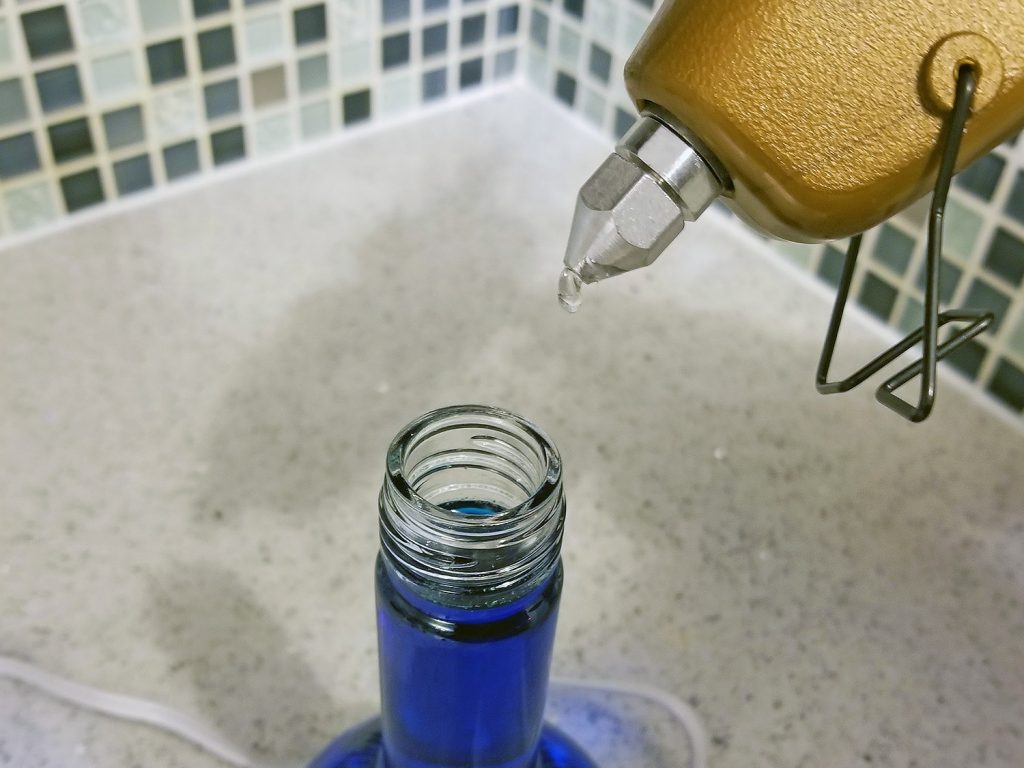
It doesn’t have to look great, just try to keep it inside the neck, rather than out on the rim.
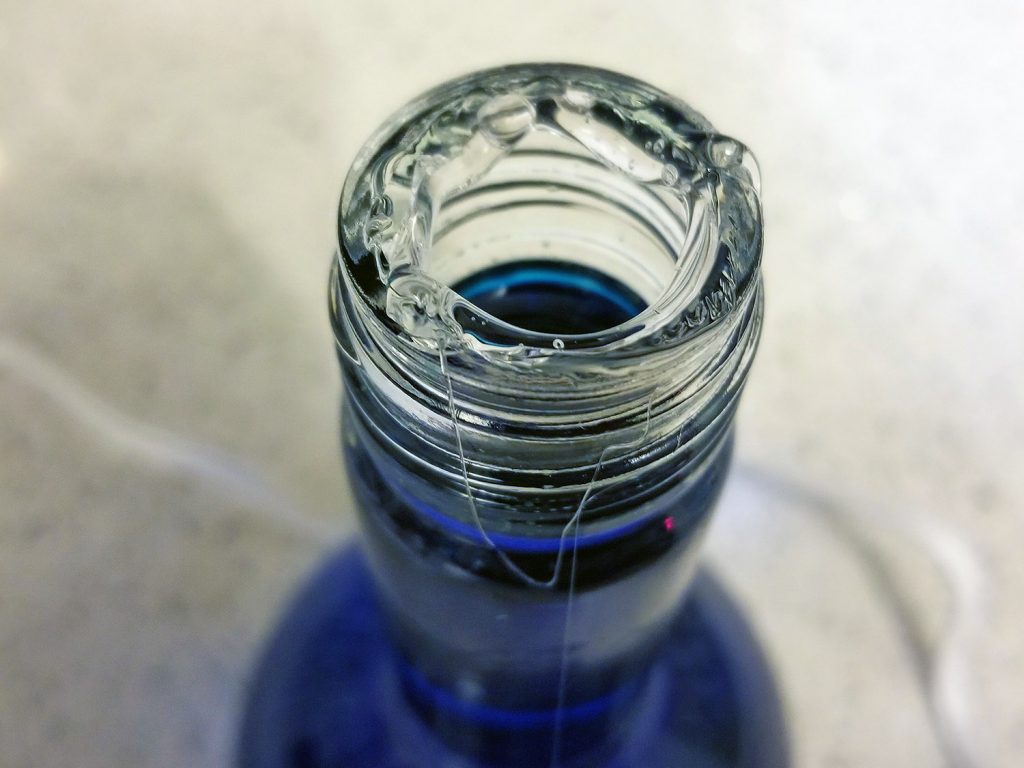
Gently wiggle that cork in the neck, wiping off any excess glue that squeezes its way out of there.
Finishing it off:
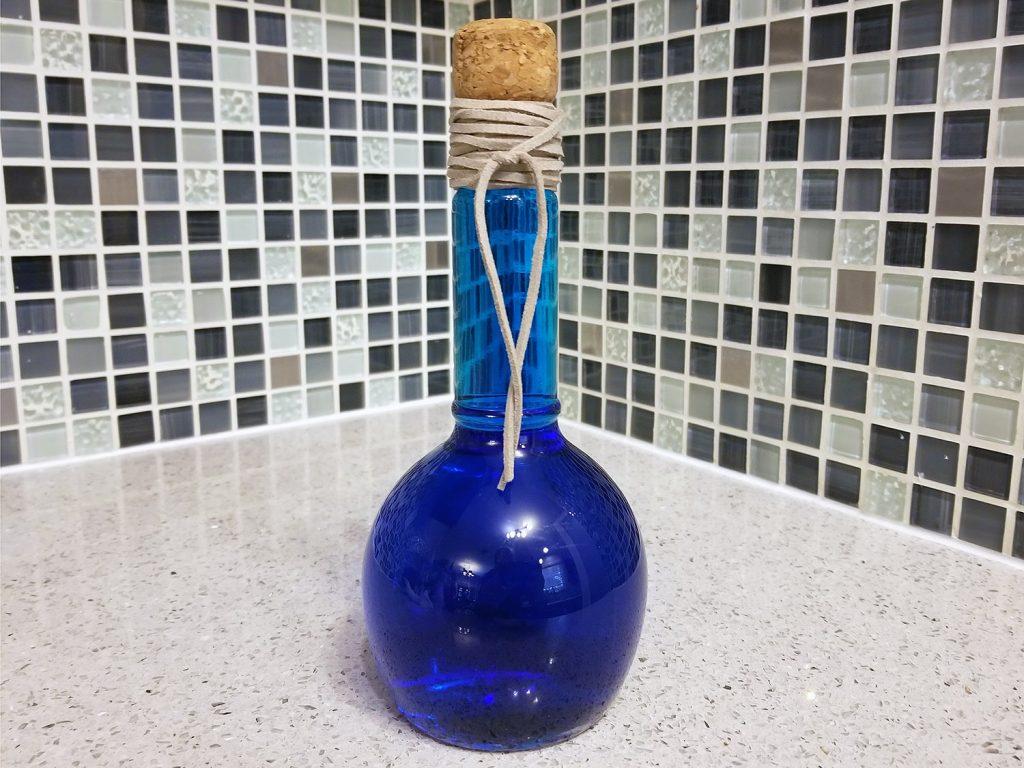
Get whatever item you picked to finish the bottle off with. I chose a thin leather thread I had laying around from a previous project.
Wrap it around the neck carefully, then tie it off and trim the ends if needed.
The final product:
